For a while, I had no idea what I was going to wear under my vest. Sewing Loki's movie-style tunic is far beyond my skill level, but I didn't want to just throw on a green jumpsuit.
Even though I'm cosplaying a character whose Marvel incarnation began, of course, in comic books, I don't want to look like I stepped out of a comic book.
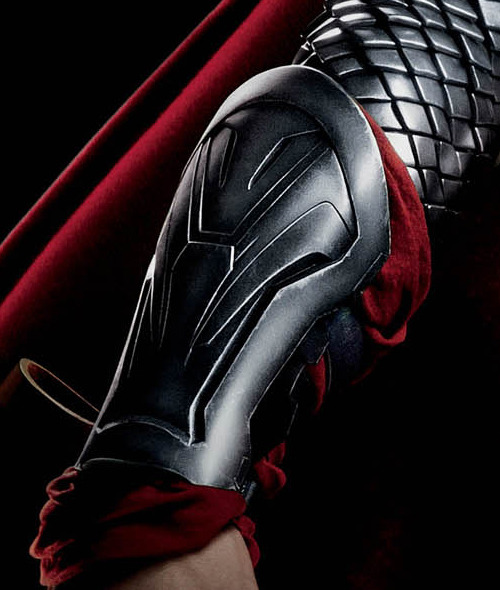
Sounds counter intuitive, huh? But I want to look more realistic and grittier, like Hiddleston's Loki in The Avengers. My Lady Loki needs to look like she can kick some serious butt!
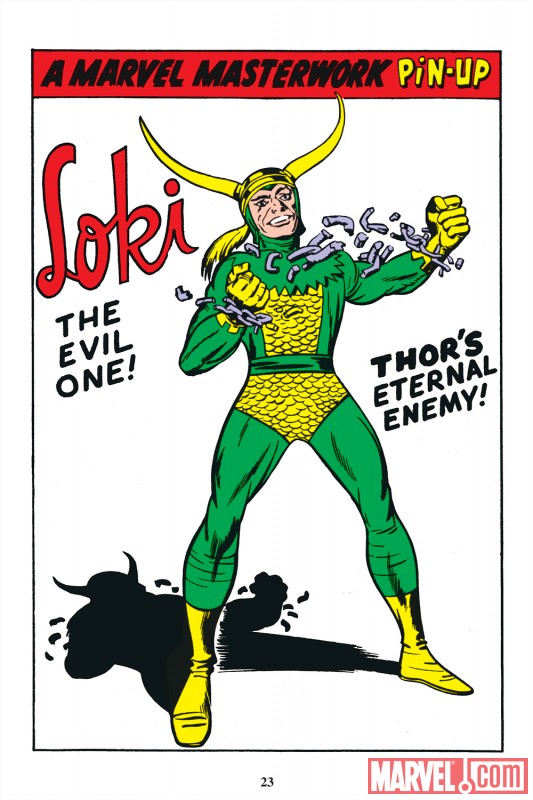
Work that green unitard, bro.
Also, not what I want to look like.
To coordinate with my vest material, I decided that I wanted to include a lot of faux leather in my outfit.
After looking through countless dresses, rompers, bustiers, and even crop tops (yikes!), I settled on this black pleather corset from Windsor:

Even the God of Mischief is against animal cruelty!
But I was still at a loss as to what I should wear for bottoms. Leggings? Faux leather shorts? I hummed and hawed.
On a trip to my local Styles For Less to look for sandals, I came across the perfect leggings! Green with a leatherette strip down the side, I knew I had to incorporate them into my cosplay.
Here is a photo of me modeling the corset and leggings together!

I'm already starting to feel like a badass.

The only thing was that I had purchased green fabric to line my vest almost a year ago...and the greens didn't match. Oh no!
Luckily, Joann's is still running its 'Student Discount Month' for July, where the usual 10% student discount is doubled to 20% off your total purchase - even sale items! I made a trip to my local store for more Mod Podge, gold paint, and new lining material.
~ ~ ~ ~ ~ ~
When I was at Joann's, I decided to see if I could find supplies to make a 'Tesseract' necklace like the ones I'd seen on Etsy. I'd always loved them, but didn't want to shell out $10-30 for something I could craft myself!
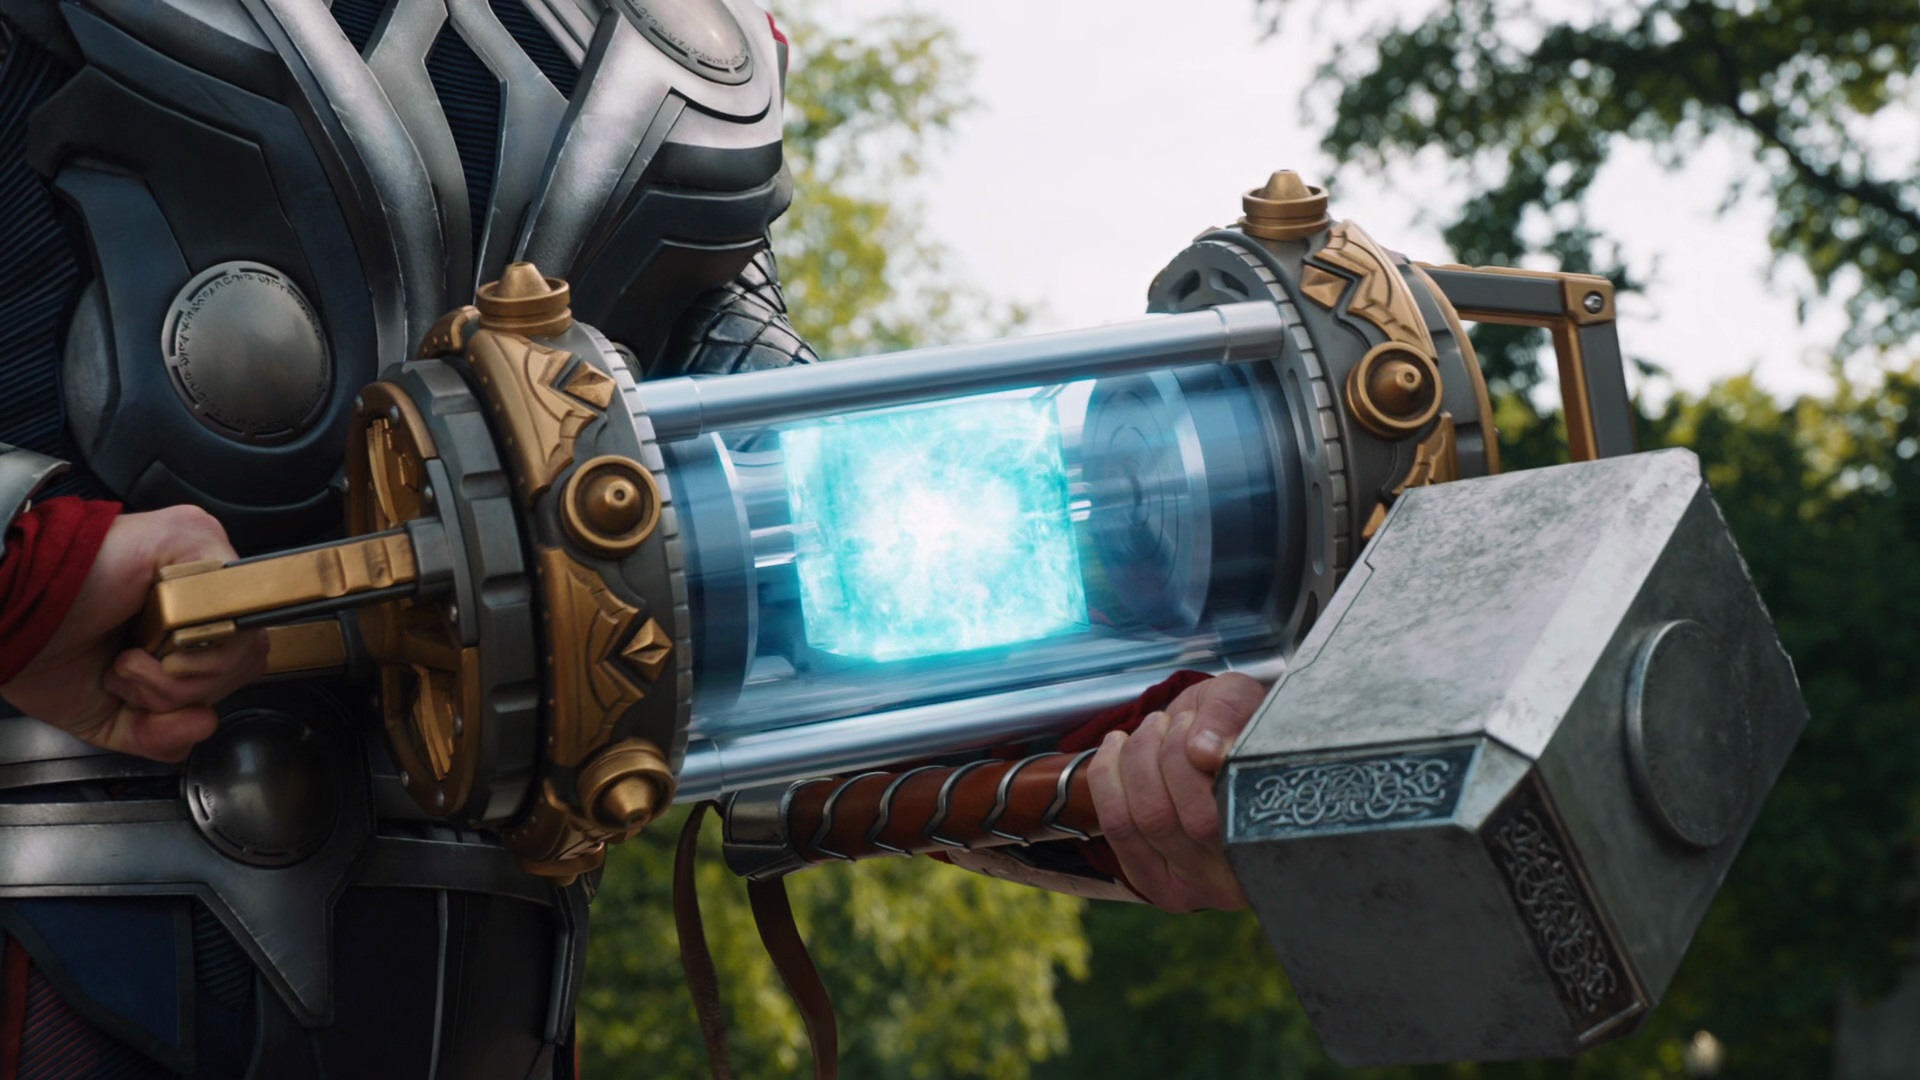
"The Tesseract has awakened..."
I picked up some chain and a set of "capsules." I couldn't find any square blue beads, so I decided to look through my bead stash for one I could use.

The capsule opens to allow you to slide beads onto the wire that runs through the center. I secured a blue bead onto the middle of the wire with hot glue and sealed the capsule shut by curving the end of the wire into a loop.
I didn't want to fuss with clasps, so I measured the chain to make sure I'd be able to slip the necklace over my head. I then attached the chain to the capsule with pliers.
Here is the finished product!

I now wield unlimited power.
It's so cute, and a great way to sneak your love for the Asgardians into an everyday outfit.
~ ~ ~ ~ ~ ~
Lastly, I've been attempting to figure out how I want to make my headpiece. Loki's helmet in Thor and The Avengers is wicked cool, but I don't have the patience to make a life-size, wearable, screen-accurate helmet.
Lady Loki wears a horned diadem in the comics, which will be much less of a headache to construct (pun intended).
After researching online, I found two main ways to make costume horns: modeling them out of clay or carving them from styrofoam. Because I've never done either method, I decided to try both!
Rather than kill myself trying to whittle horns from a Styrofoam block, I found a Styrofoam heart at Michael's for about $5. I had my dad help me cut the heart in half, leaving two identical, very horn-like halves. As you can see in this photo, we've started sanding down one of the ends into a point.

Check out these bad boys.
If I manage to coax the Model Magic into two identical horns (ha), I'll make a second, smaller headpiece to wear to the Thor: The Dark World movie premiere this November. I don't think anyone would want to sit behind me wearing the big horns!
~ ~ ~ ~ ~ ~
I ended the afternoon by painting my foam armor, pictured in my last post, with Gesso. I can't wait to start painting them gold tomorrow!