Showing posts with label crafting. Show all posts

Wednesday, July 31, 2013

Ruling Midgard, One Step At A Time

I've hinted at it, but here it is at last - an update post on the vest I'm sewing for my cosplay!


You got it, Tom!

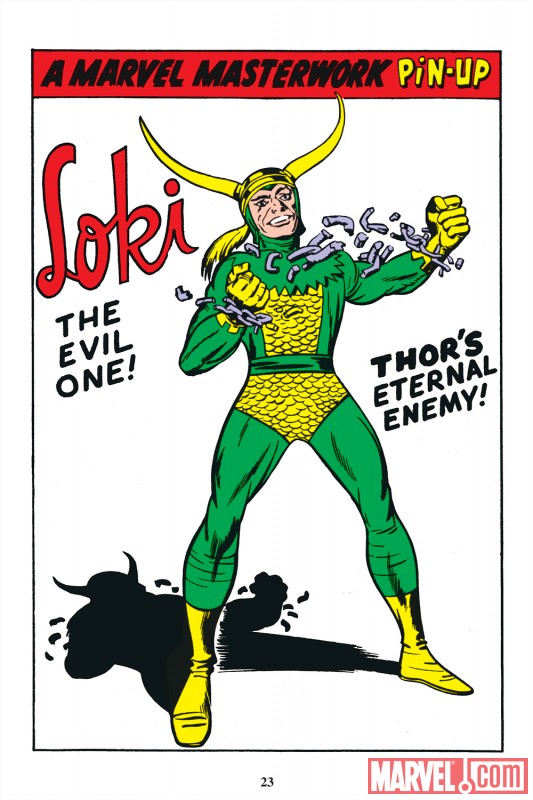
To achieve world domination, you have to have an army, major issues, and, most importantly, a killer sense of style. If you've seen The Avengers (and really, who hasn't?) I'm sure you'll remember Loki's "badass longcoat."

Burdened with glorious fashion.

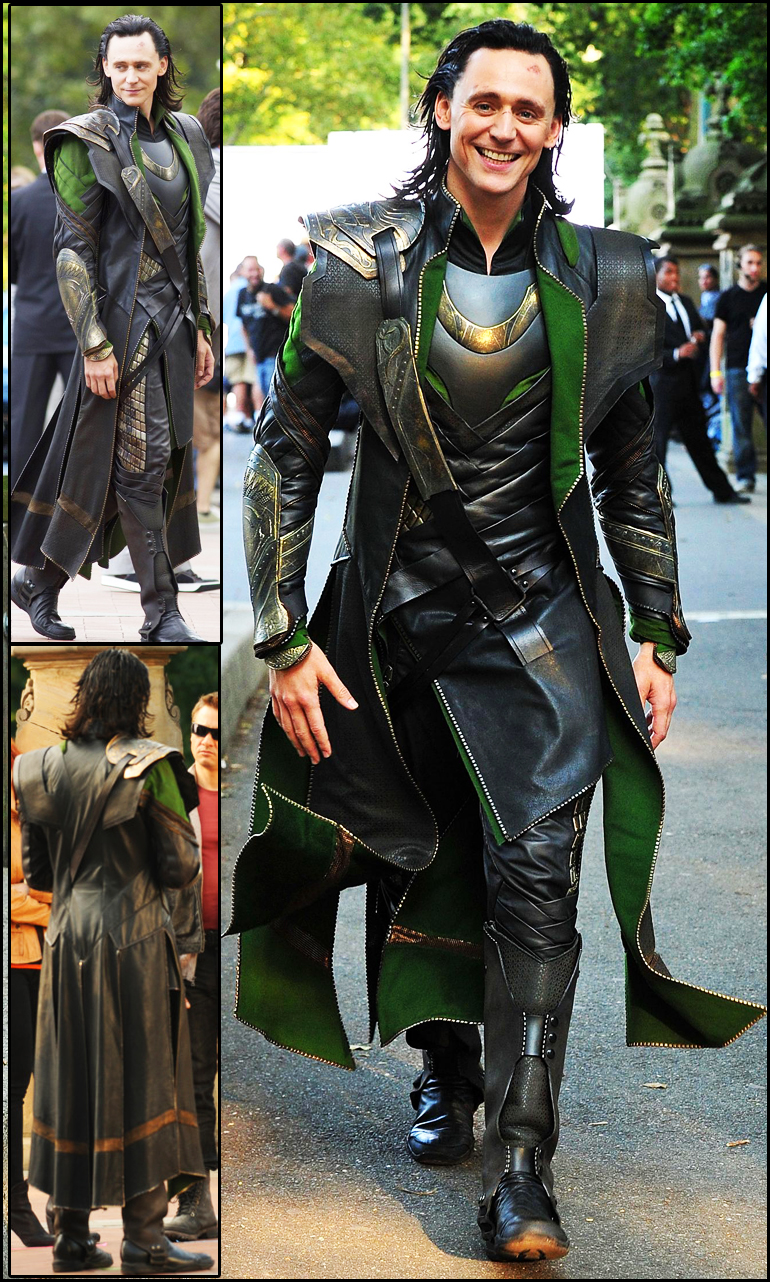
As you can see, the vest/coat is sewn rather intricately, so I decided to do a modified version. When I went to my local Joann's fabric store, I looked for a women's vest pattern I could alter. The bottom left is the one I ended up using!

Plus the sample is green. Coincidence? I think not.

I spent quite a bit of time over the last few weeks thinking through the alterations I wanted to make and how they would affect the way I could sew everything together. 

I ended up making a few radical changes to the front. I joined two pattern pieces, cut the bottom end into a point, and added a flap that I will fold back to show off the green lining underneath. I also made the back piece into one large pattern.

The most difficult part was figuring out the long front and back panels that hang from the coat. Because I'm much smaller than the 6'2" Tom Hiddleston, I went for four panels instead of six. After making my own patterns with tissue paper and a lot of measuring, I ended up with this:


After a ton of ironing (tip: don't fold vinyl/faux leather for any extended amount of time if you want it straight), I laid my pattern pieces on my material and traced them out with a black marker. Since I wasn't working with woven fabric, I didn't want to use pins, which would have poked holes in the vinyl.

Mischief never looked better!

As I mentioned in my last post, I had to purchase new lining fabric to match my leggings. It took me a few more hours to get that ironed and cut out too... It will all be worth it in the end!

Since I have a good amount of faux leather material left over from my main vest pieces, I'm going to use it to make Loki's sash, which attaches to the pauldron and front buckle. 

The face of world domination.

The last thing I need for my vest is gold trim for the edges. Most Loki cosplayers use gold Hot Fix rectangles, which can get pretty pricey to get the amount you need to border the whole jacket. They're also difficult to find offline, with most retailers only carrying Hot Fix crystals. 

When discussing the $30+ price tag on the Hot Fix rectangles, my mom suggested using Zip R Trim instead. This "zipper tape" could be sewed in with the lining, rather than hand-gluing hundreds of tiny metal pieces around the edges. I'll have to look for it on my next trip to the craft store! I'm sure that by the end of this project, all the employees will know me by name.

~ ~ ~ ~ ~ ~

Horn progress! My dad helped me shave off the blunted edge of my Styrofoam horns with a metal file, also known as a rasp. I'm going to do some more research on how to seal the Styrofoam before I paint my horns gold. Spray paint and acrylic paint can damage foam if you aren't careful! 

Looking sharp! Get it?

I also busted out my Model Magic and made my first attempt at molding horns with it. I had leftover clay, so went ahead and made twisted horns just for fun. Since my Model Magic is air-drying, you have to let your pieces sit for 72 hours. This unfortunately leads to some cracking, which you can see in the photo below.

Don't judge me too hard. I did my best! 

~ ~ ~


One final note: if you're into Marvel, Disney or even Star Wars, check out Disney XD's "fandom" programming this week, which promises sneak peaks at Thor: The Dark World and Captain America: The Winter Soldier! The programming began Tuesday night with a inside look at Comic Con and will run through August 1st. 
Check out the schedule here!

Sunday, July 28, 2013

Horns, the Tesseract, and an Outfit Fit for a Goddess


For a while, I had no idea what I was going to wear under my vest. Sewing Loki's movie-style tunic is far beyond my skill level, but I didn't want to just throw on a green jumpsuit.

Even though I'm cosplaying a character whose Marvel incarnation began, of course, in comic books, I don't want to look like I stepped out of a comic book. 

Sounds counter intuitive, huh? But I want to look more realistic and grittier, like Hiddleston's Loki in The Avengers. My Lady Loki needs to look like she can kick some serious butt! 


Work that green unitard, bro. 
Also, not what I want to look like.

To coordinate with my vest material, I decided that I wanted to include a lot of faux leather in my outfit.

After looking through countless dresses, rompers, bustiers, and even crop tops (yikes!), I settled on this black pleather corset from Windsor:

Even the God of Mischief is against animal cruelty!

But I was still at a loss as to what I should wear for bottoms. Leggings? Faux leather shorts? I hummed and hawed. 

On a trip to my local Styles For Less to look for sandals, I came across the perfect leggings! Green with a leatherette strip down the side, I knew I had to incorporate them into my cosplay. 

Here is a photo of me modeling the corset and leggings together! 

I'm already starting to feel like a badass.


The only thing was that I had purchased green fabric to line my vest almost a year ago...and the greens didn't match. Oh no!

Luckily, Joann's is still running its 'Student Discount Month' for July, where the usual 10% student discount is doubled to 20% off your total purchase - even sale items! I made a trip to my local store for more Mod Podge, gold paint, and new lining material.

~ ~ ~ ~ ~ ~

When I was at Joann's, I decided to see if I could find supplies to make a 'Tesseract' necklace like the ones I'd seen on Etsy. I'd always loved them, but didn't want to shell out $10-30 for something I could craft myself! 

"The Tesseract has awakened..."

I picked up some chain and a set of "capsules." I couldn't find any square blue beads, so I decided to look through my bead stash for one I could use.


The capsule opens to allow you to slide beads onto the wire that runs through the center. I secured a blue bead onto the middle of the wire with hot glue and sealed the capsule shut by curving the end of the wire into a loop.

I didn't want to fuss with clasps, so I measured the chain to make sure I'd be able to slip the necklace over my head. I then attached the chain to the capsule with pliers. 

Here is the finished product!

I now wield unlimited power.

It's so cute, and a great way to sneak your love for the Asgardians into an everyday outfit.

~ ~ ~ ~ ~ ~

Lastly, I've been attempting to figure out how I want to make my headpiece. Loki's helmet in Thor and The Avengers is wicked cool, but I don't have the patience to make a life-size, wearable, screen-accurate helmet.

Lady Loki wears a horned diadem in the comics, which will be much less of a headache to construct (pun intended).

After researching online, I found two main ways to make costume horns: modeling them out of clay or carving them from styrofoam. Because I've never done either method, I decided to try both!  

Rather than kill myself trying to whittle horns from a Styrofoam block, I found a Styrofoam heart at Michael's for about $5. I had my dad help me cut the heart in half, leaving two identical, very horn-like halves. As you can see in this photo, we've started sanding down one of the ends into a point.

Check out these bad boys.

If I manage to coax the Model Magic into two identical horns (ha), I'll make a second, smaller headpiece to wear to the Thor: The Dark World movie premiere this November. I don't think anyone would want to sit behind me wearing the big horns! 

~ ~ ~ ~ ~ ~
I ended the afternoon by painting my foam armor, pictured in my last post, with Gesso. I can't wait to start painting them gold tomorrow!